
I have perfected the process of importing ePub books into Roam. I was able to create an almost frictionless experience for reading a book in Roam. Put aside the issue with reading on a tablet screen instead of a kindle, this solution is much more comfortable and efficient for reading and note taking at the same time then the Kindle. I have also develop a solution to automatically maintain full traceability from my notes to the source text even though the ePub book sits in a different Roam graph compared to my literature notes.
This post is a detailed how-to guide for setting yourself up to read books in Roam.
- Here is the link to the Python program you need for converting your ePub books: Colab Notebook
- Here is the link to the Book-base.json that will be required to achieve the full experience.
This is how the end result looks
Detailed how-to walkthrough
This second video explains the full process from the beginning to the end in 27 minutes.
My solution to traceability from literature notes to original text
In my proposed solution you will load the full text book to a separate Roam graph (maybe a local graph) not your main Roam database. This is to safeguard the performance of your main graph. In my experience as the size of your database increases, Roam's performance degrades. In an extreme example, I have loaded two Bible translations and full cross reference into Roam. This meant creating a database with 33000 pages and over 96000 blocks. Though Roam still functioned, its performance was at times down to 10 seconds between characters when typing.
Having the ePub full text in a separate database means that traditional block references to the source will not work because block references do not function between graphs (at least not at time of writing this). My workaround is to include the reference to the page of the Roam book in each paragraph of text, which I then hide using a one liner CSS snippet that needs to be placed in [[roam/css]]. The CSS code is provided bit further below.

By including these references in each paragraph, when you copy the paragraph to your own Roam database as part of your literature notes, the paragraph will "remember" which page of the book it came from. Once finished with reading, I advise archiving your local Roam-book in an .edn file and uploading it to your literature notes page in your main Roam graph. This way you can also reach back to the original text in couple of minutes if needed.

Step by step instructions
- Save the desired ePub book to your Google Drive
- If the book includes images that you would like to show in your Roam book as well:
- Make a copy of the ePub file
- Rename the copy to .zip and unpack
-
Locate the folder that contains the images and observe the relative
location of this folder compared to the books body. Note that
every ePub is different. Sometimes the images and the document files are
all simply in the root directory, sometimes somewhere else.

-
Copy the images to a location that you can publish on http://loclahost,
or upload it to the internet. I use github for this purpose. Place the
files in a folder that mimics the location in the ePub file. My Python conversion script simply deletes the "../" part of the image source references and replaces them with the
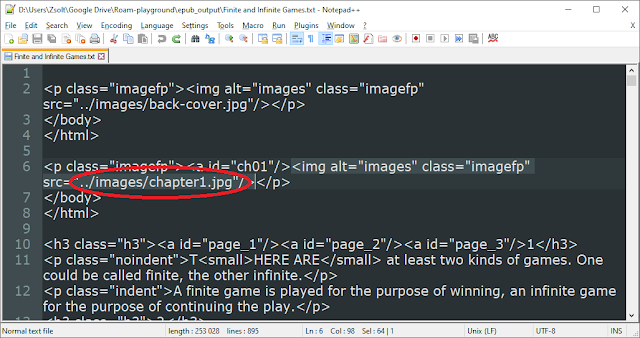
base url provided in the img_base_url variable. A text file similar to the one I show here will be created
after executing step 4.2 of the Python program. This raw text file will contain all of the epub's contents and will be saved in your output folder. You need to search for "<img" in this file to see how images are referenced in the document you are trying to convert.
-
Set the img_base_url variable accordingly. In this example the pictures should go in the images folder such as http://localhost/book/images/,
and the base url that you would need to set in the program would be for example "http://localhost/book/".

- Open the Colab Notebook and configure the variables.
- In section 2. set the input and output path and filenames. Note that the input filename you provide will also become the namespace within Roam. Its best to give the file a nice looking name.
- In section 4.1 set image base URL as explained above.
- Run each of the code blocks in the notebook in sequence up to and including step 5.3.
-
Import the json files to an empty Roam database. Be sure to include all 3 files in
the import. Two are created by the script (corpus.json and toc.json), and one you need to download from here: Book-base.json

-
After the import is finished, start the script on the [[roam/js]] page. This script will provide you with the automation that you can simply double click on a block of text and it will be copied to the clipboard. The script will also append "> " in front of the paragraph that is being copied. As a result when you past the paragraph it will be rendered as a block qoute.

-
Copy the CSS snippet into your own roam graph into [[roam/css]]. Paste it into a code-block and make sure to set the type of the code-block to "CSS". This
CSS code hides the tag specifying the location of the quoted text. Equally you can copy the CSS snippet from
here:
1
2
3
4
span.rm-page-ref[data-tag^="ePubBook/"]
{
	display: none;
}
- Locate the Table of Contents and start reading.

-
When you want to copy a paragraph into your literature notes, simply
double click on the paragraph, then paste into your own Roam graph using CTRL+V
or selecting "Paste"


Comments
Post a Comment